User’s manual for adding / editing information about objects.
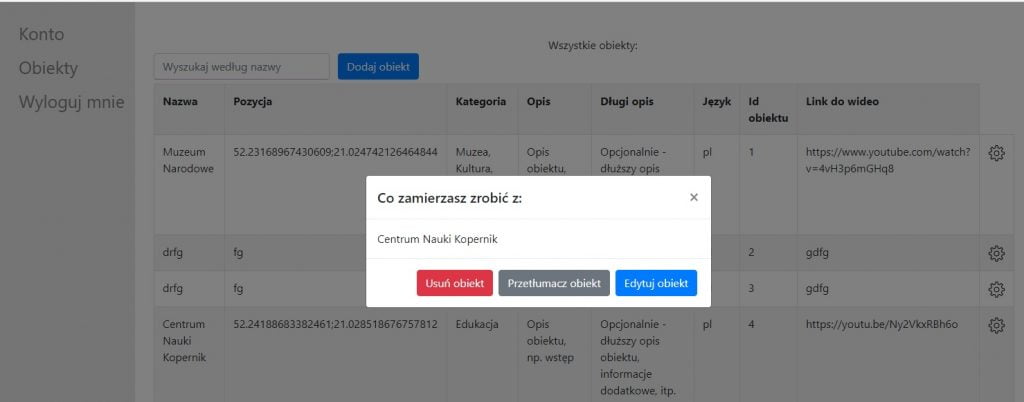
The special web panel that allows you to manage all options, object data, etc. The panel is accessed according to the procedure described on this page.
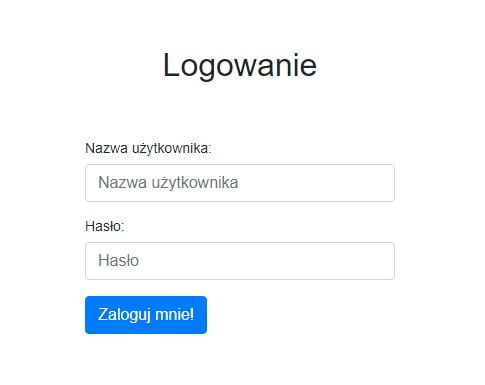
To log in to the panel, please enter its URL in your web browser and then complete the authorization form. You will receive the mentioned above information after concluding a contract or successfully sending an order and an advance payment.
Start working with the panel by selecting ‘Settings’ from the menu. In this section please add at least one category and specify the default application settings (e.g. default distance from objects, refresh rate, etc.). There may be more categories, e.g. for a city it may be: Monuments’, ‘Offices’, ‘Parks’, ‘Tourism and recreation’, ‘Churches’, ‘Shops’, ‘Companies’, etc.

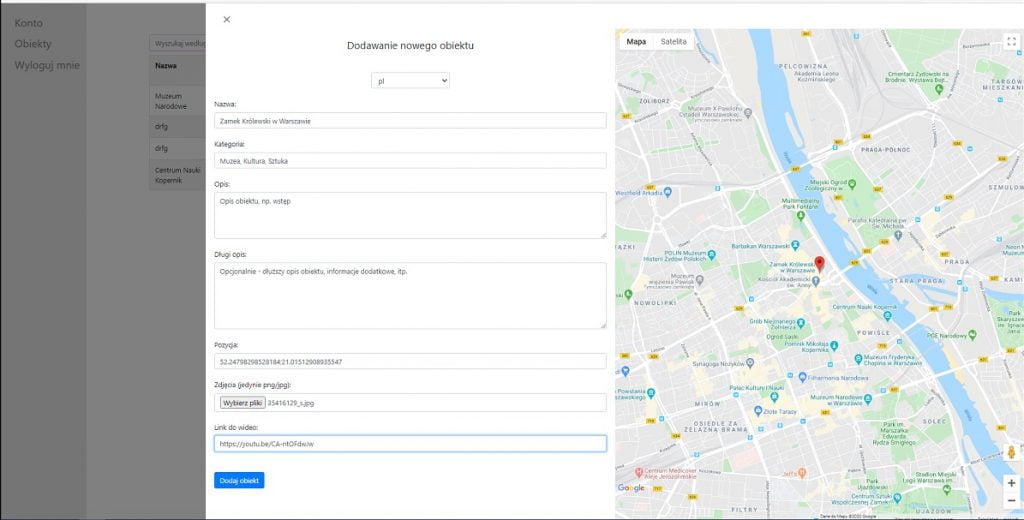
Then select the link ‘Objects’ from the menu. To add a new item, please click on the ‘Add object’ button, available at the top of the panel. A new window with a form will open, through which you can complete the data. You can enter the coordinates of the object manually or use the map – just indicate the desired location.
After pressing the settings icon, available at the end of each entered record, the options for editing the object will be available.

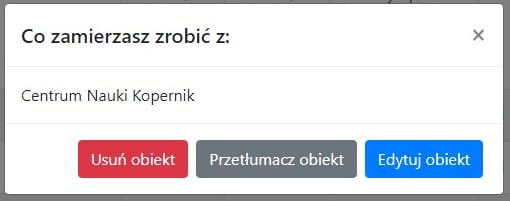
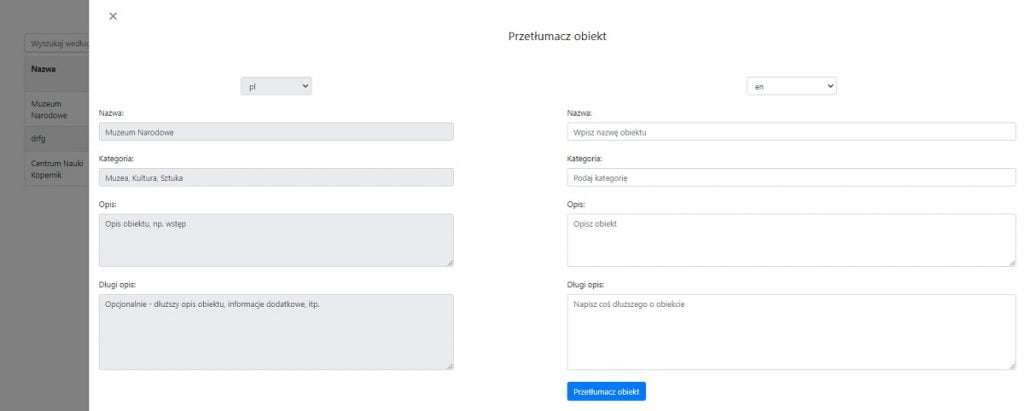
Clicking ‘Delete object’ option will – of course – delete the record. After selecting ‘Translate object’ the appropriate form will appear.
After selecting the option ‘Edit object’ you will have the possibility to change the data of the indicated item.
In the main menu you will also find links to the available documentation ( as this one ) and the ticket system, through which you can keep current in touch with us.

